Inserting Records There are four methods of inserting records within the system:
Standard Insert
Use F9 or
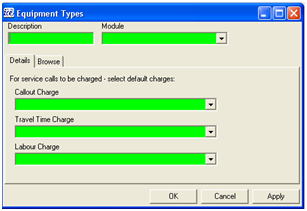
The fields will turn green and the user is required to enter the record details.
To accept the record details click on the ‘green tick’
To reject the insert click on the ‘green cross’
Insert Dialog for Master Files
Use F9 or
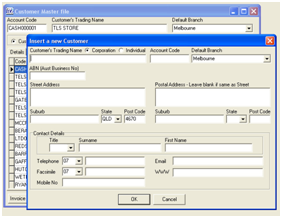
Minimum information required for a master file record is captured when inserting a new record on an insert ‘dialog box’ as shown in the Customer example in screenshot on the left.
The basic details are entered and when complete click on the OK button to accept the insert, or click on the Cancel button to reject the insert.
All windows behind the ‘dialog box’ are inaccessible until the ‘dialog box’ is closed.
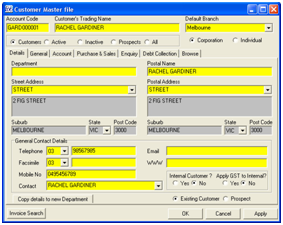
When the insert is accepted, using the OK button, the master file is displayed in edit mode (yellow) as shown in the screenshot on the left.
The data entered on the insert dialog box is created when the insert was accepted and the record is re-opened in edit mode to indicate that other tabs may require additional information.
Inserting a record from another window
Certain search fields or drop down search lists allow the user to add records to the table. These tables would normally be accessed via the main menu and relevant menu item, however a quick key has been provided for convenience.
Ensure the cursor is located in the search field and press F7 function key or Ctrl-G.
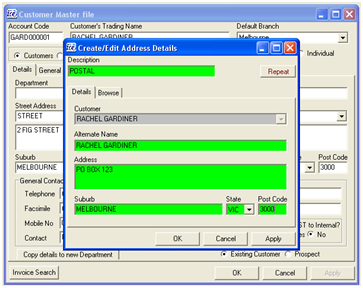
When activated the relevant window will be displayed on top of the window and this will be the active window until it has been closed with either OK or Cancel button, as shown in screenshot on the left.
Insert records as per the standard insert or master file insert method.
When complete click on the OK button, this will save any unsaved data and return the focus to the original window, the new record/s will be available as a search option.
Searching a record from another window
Searching a record from another window can also be accessed in a similar way by using F8 or Ctrl-R.
When in the search form normal search functions apply, when the required record is located click on the select button at the lower right of the window and the selected record will be placed in the field where the search was activated.
Inserting a record in a transaction header
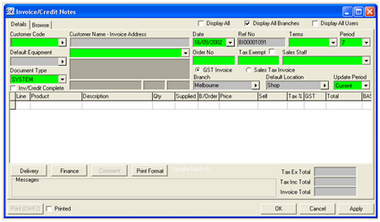
Each transaction has a header and detail lines. To insert a new transaction header press Shift-F9 or click the To accept the header, press Shift-F10 or the green tick
To cancel an insert of a header press Shift + F11 or press the green cross
Inserting a record in a transaction line
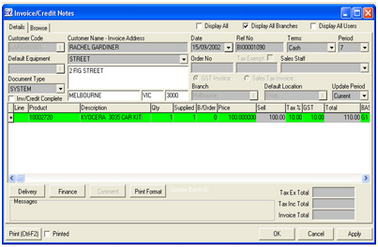
Once the header has been saved, ensure the cursor is in the details grid to begin inserting lines for the transaction.
To insert a new transaction line header, press F9 and a new line is created as shown in screenshot on the left.
Enter details and press F10 to save
To cancel an insert of a line press F11
|
Page Filename : io_update_insert.htm
